

Welcome to my kitchen! After 3 1/2 month’s of demo, patience and a lot of hard work we finally have the kitchen we dreamed of. I have to give my husband Joe so much credit, he took my ideas and made it a reality. When we moved from Kansas back to New Mexico we both had our own visions of what we wanted in a home. He wanted a space to store his tools and an area for woodworking projects and I wanted an open kitchen. And we both wanted a view of the mountains. Well we got two out of three. My kitchen was big enough but wasn’t open by any means. The kitchen in Kansas was small but was organized and designed to be functional. Everything was in reach and it was easy to prepare and cook in my tiny kitchen. The kitchen in Albuquerque was not functional at all, at least not for me. I rearranged things time after time and couldn’t find a way to make it flow. So we decided to take 6 month’s to find out what worked and what didn’t work in order to design a work area with ample storage space. We started just before Memorial day and finished up on Labor day. After a few days spent moving back in and organizing things, I’m ready to get back in the kitchen!
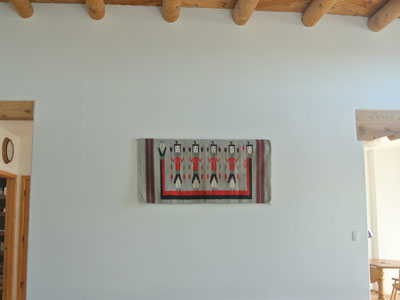
Behind this wall is my old kitchen. From the time we moved in, all I wanted was to tear down that wall!
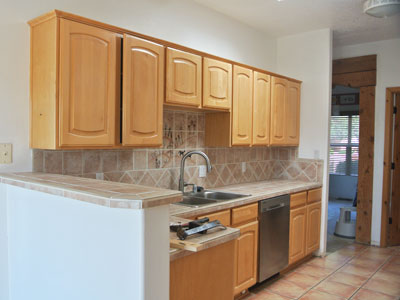
And this is the other side of the wall. I didn’t think I would mind a tile counter top but I found out soon that I hated it. Also, the cabinets creaked and popped every time we opened or closed them.
First part of demo was to remove the cabinets. Joe took half of them and set up in his garage space to store his woodworking tools. The other half I am using to store extra dishes, cooking utensils and small appliances.

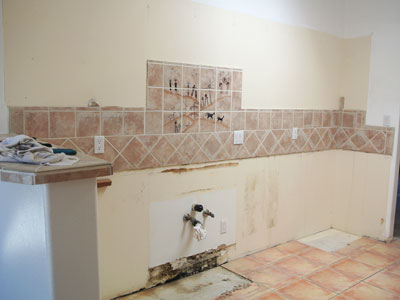
Our back splash above the sink was hand painted with a petroglyph scene. Petroglyhs are cool but I’m not sure they belong in the kitchen.
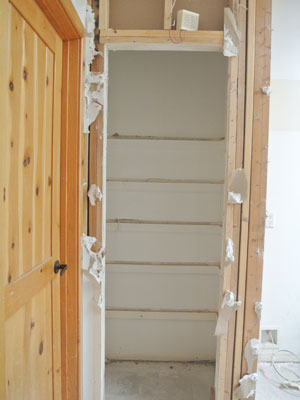
To make some extra space, we removed the old pantry which was located on the back wall next to the cabinets.
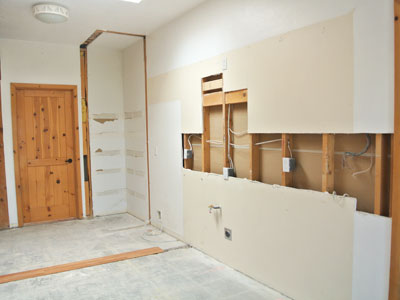
You can see where the pantry was and where the old tile back splash was removed. The door next to the old pantry leads to the laundry room where we set up the existing pantry.
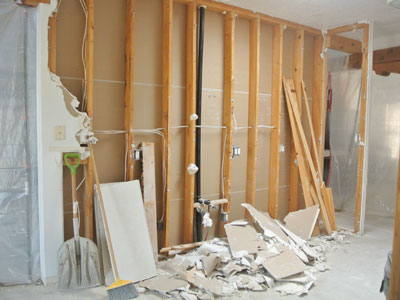
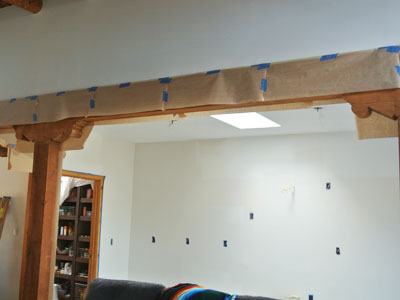
Once the floor tiles were removed it was time for the wall to come down. First step was to remove the drywall, exposing the frame underneath.
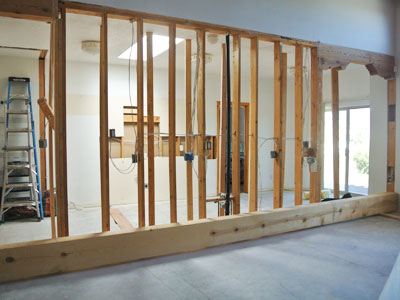
It was quite a change when we could finally peek between the kitchen and living room.

Z’s reaction is priceless!

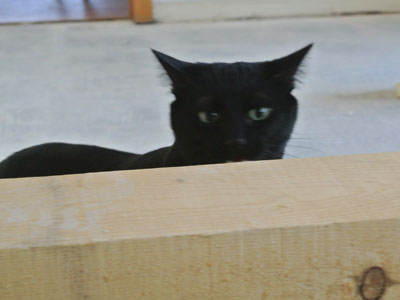
Magic was curious but cautious when it came to all the noise and banging that went on during the day. When the noise would cease and he felt it was safe to come out, he would creep out real slow to check out the progress. The dust was always a problem and Magic looked like an old man when he rubbed up against a wall and leave gray streaks on his face.
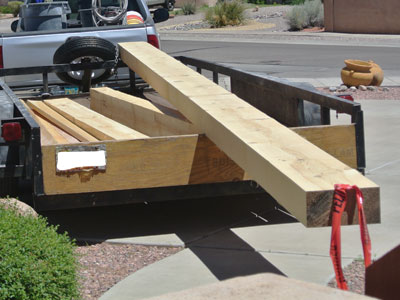
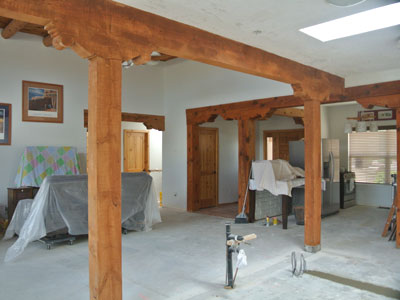
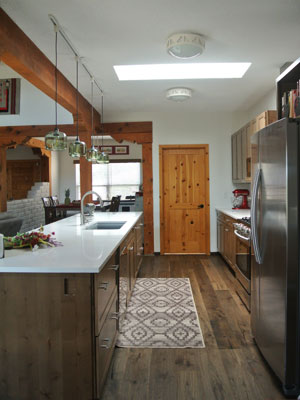
We had to have a support beam and it needed to match the existing architecture in the house. We added a 22 foot beam which extended across the kitchen and took several good guys to install!
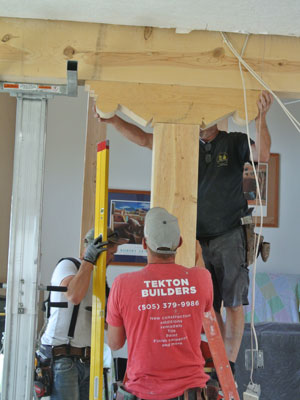
When the big day came to install the beam and posts, I was so nervous. I couldn’t watch until the last post and corbel were almost in place.
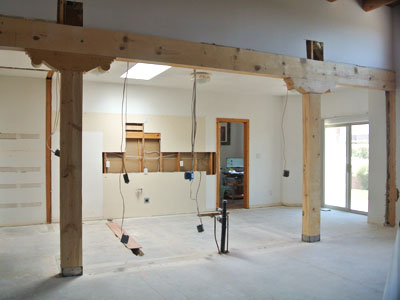
Now that’s the open space I was hoping for! Next up we needed an electrician to relocate the electrical and also have the drywall repaired and retextured.
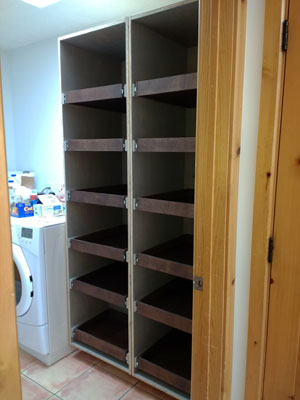
I gave up the pantry in the kitchen for more cabinet space. Joe created a space in the laundry room and built a cabinet with pull out drawers, enough for all my pantry needs. It’s located next to the kitchen so I only have to take a couple extra steps to the new pantry.
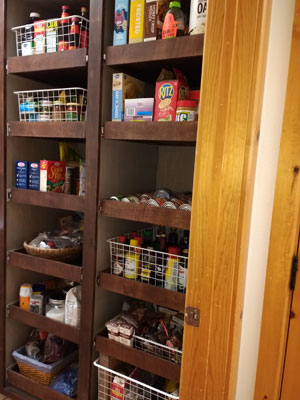
Every drawer pulls out for easy access. He did a great job!
With the electrical done and the back wall repaired we decided it was a good time to paint the living room, dining room and kitchen areas first.
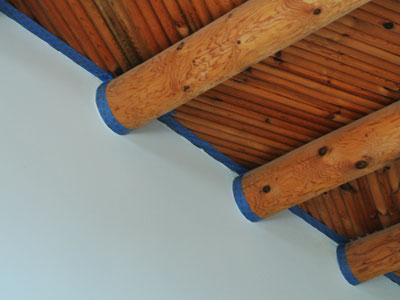
We have 14 foot ceilings with vigas. Not an easy task to prep and paint that high up. We struck a deal, Joe would paint the high wall and I would take the low part. We worked well together and it was done over a weekend.
We wanted to match the color of the existing beams, posts and corbels. We felt extremely lucky that the stain we chose matched very well. The wood itself was a different wood and didn’t have the same characteristics but we are happy with the results. After the stain was set, I applied linseed oil to all the beams which really brought them back to life.
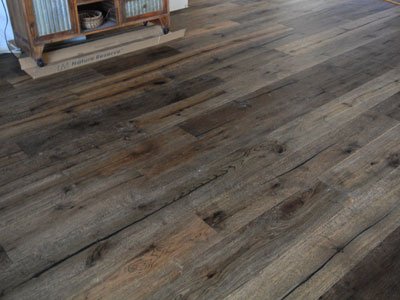
Next we laid down the flooring that extended throughout the kitchen, living room, dining room and hallway. We went with a distressed engineered oak wood floor.
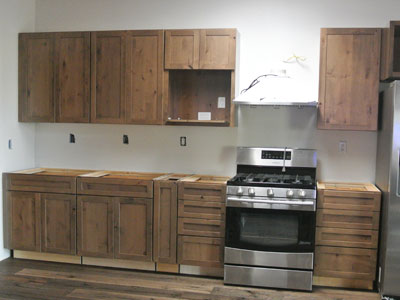
Next step, Joe and I installed the cabinets along the back wall. We went with a knotty alder wood with a suede finish which softened the color. We anticipated it would be hard to install the cabinets, just the two of us, but the back wall went up easy. We felt a bit cocky after that . . .
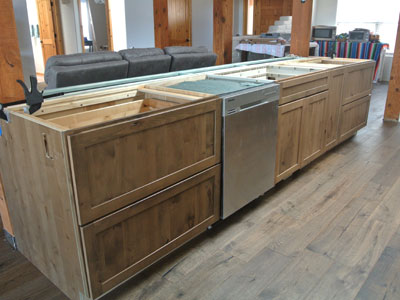
The island was a different story. Joe built a shelving unit behind the cabinets in the island to give me a few extra inches of counter space depth. Connecting all the pieces and keeping them straight was frustrating. There were also some complications with installation of the electrical outlets and a mistaken cut to a side panel that is still on back order. After all the trials of the painting, installing the floor and back cabinets, the island proved to be the frustration that just kept on giving.
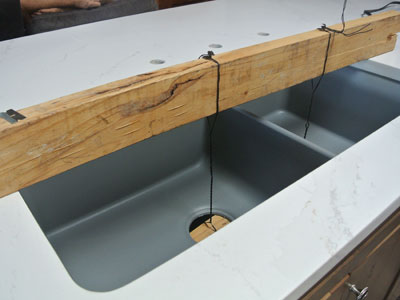
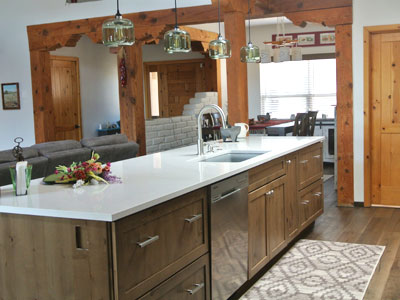
About a month later we finally got our counter tops and sink installed. I went with a quartz top and granite composite 70/30 sink. The sink is so deep and enables me to wash almost any size of pot or pan. Going without a sink for 3 1/2 month’s was the hardest sacrifice of the entire remodel. We had other ways to cook meals but cleanup in the bathtub was hard. The demo and construction dust consumed everything and all dishes that weren’t covered or stored away had to be washed daily.
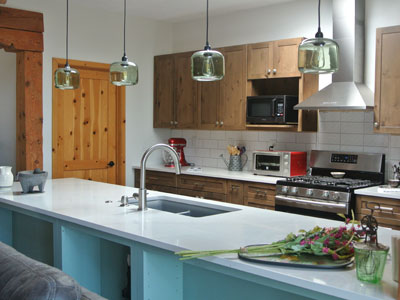
Joe made some pendant lights out of these green globes from World Market. They are intended to be used as candle holders with stands but we envisioned them hanging over the island. Joe cut holes in the bottom and ordered lighting kits to put them together. They really complete the look we were looking for.
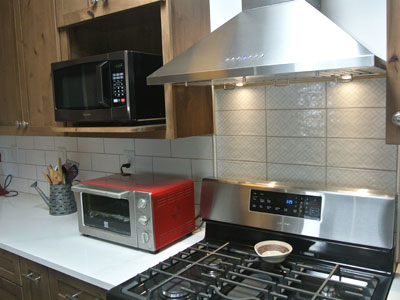
We also added a white subway tile back splash along with a decorative tile above the stove. I wanted a hood vent over the stove rather than the huge microwave. To maximize our counter space we opted for a microwave shelf and picked out a small microwave that suits me fine.
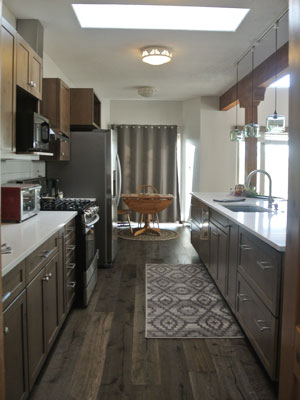
When we walk in the door this is my first view. I’ve never had so much space to work in the kitchen ever.
And I added a ruggable rug that can be washed and dried. It’s a great thing in the kitchen to be able to refresh a rug. I would highly recommend a ruggable rug especially in the kitchen.
Thanks for taking a tour of my new kitchen. I can’t wait to start cooking and sharing new recipes with you all soon.
A special shout out to Tekton Builders for all the hard work to make my open kitchen concept a reality. Thank you Jason and every member of your crew who worked with Joe and I to make this happen. To our neighbor Bill, Thanks for the recommendations and helping us get started on this project. And to my love Joe who worked tirelessly to make my dream kitchen come true.


9 thoughts on “The Kitchen 2019”
mjskitchen
Well, this is freakin awesome!!!! Some of those pictures (the tear outs) look like my kitchen remodel from about 6 years ago. What a great design, cabinets, countertop – everything! You must be in heaven right now. 🙂 and WOW! you had to install a support beam? Now that’s a true remodel. It’s absolutely gorgeous Jan!
Loved that you repurposed the old cabinets. Mine are also in the garage with Bobby’s tools and stuff. My niece even took a couple of her garage. One of the construction men was building a house on the reservation so he took all of the old appliances, light fixtures and many other things. It was great to see that stuff being used again and not put in the landfill.
Congratulations on your new space Jan!
LikeLike
NativeNM
Thank you MJ! I had to go take a peek at your kitchen pictures. How beautiful, love your space and the colors! Isn’t it awesome to have a functional kitchen. I’ve never had anything near the counter space that I have now to work. The open space makes everything feel bigger and I now can have a conversation without a wall in between. I’m enjoying it for sure.
LikeLike
Roz
OMG, what an awesome new kitchen! I love every bit of it and am sure that you are just enjoying it to the max! I also love your Siamese cat, Z. My third Siamese died at 20 years old a few months ago. I so love Siamese cats and see them so rarely! Enjoy that super cucina of yours, Jo!!!!!
LikeLike
Roz
Sorry for that typo, Jan!
LikeLike
NativeNM
Hi Roz, This is the kitchen I’ve always dreamed of. It was a long and arduous project but so rewarding in the end. Space to work in the kitchen is priceless! Oh, I’m so sorry for the loss of your Siamese kitty. Wow, 20 years is a long life for a cat, know you miss him! I’ve had many Siamese over the years and just love their personalities. Z is such a love, I call him my wonder kitty due to the first few month’s of his life. He had a rough start but always had a will to live. You might enjoy his story by clicking on the link “Cheli-Z-Magic”.
LikeLiked by 1 person
Roz
I’ll definitely go and read about “Z”! My first Siamese was a Blue Point and I named her Misti Blue, the second and most precioius of all, was my first Seal Point and she was named, Mocha. She was so precious to me and when she passed at age 20, I went into serious depression for several months. My last Siamese, was a Seal Point and her name was Cocoa. But I don’t think I’ll get any more since they live so long and we also have 3 wonderful stray cats that are just as wonderful.
LikeLike
NativeNM
My sister and I had a long haired Siamese named Misty when we were growing up, isn’t that ironic! I enjoyed hearing about your sweet fur loves and know you were heartbroken to lose Mocha. They bring so much energy and fun to our lives!
LikeLike
Angela
Love your kitchen remodel, especially the pantry. Looks fantastic.
LikeLike
NativeNM
Thank you! My husband built the custom pantry for me. It’s so handy and easy to organize!
LikeLike