

This is Josh’s recipe for Crusty Artisan Bread. He’s always been the bread maker in this family and makes the most beautiful loaves of bread. He would tell you it doesn’t always come out perfect but I have yet to taste any bread that he has made that didn’t taste absolutely delicious! Since I can’t count on Josh for making the bread this year for the holidays (he is off on an adventure in Australia), I decided to give his recipe a try. He left me his big bread bowl and his oval dutch oven so I am using them for good luck. Josh told me not to over knead the dough, just incorporate the ingredients and let them sit out to proof for up to 24 hours. That was hard for me, I have made the artisan bread that you refrigerate but never let it sit out at room temp for that long. After agonizing over the process, I decided to trust his technique and it turned out great. I’ve made 3 loaves so far and they have all turned out as good as any you would find at a bakery. This one is the last loaf I made and it was incredibly light and airy with the perfect artisan crust. Practice does make perfect!
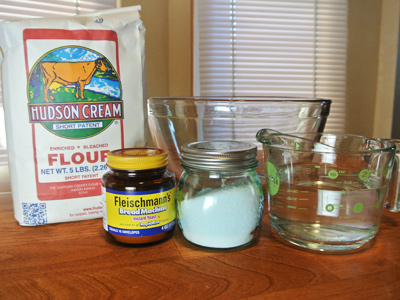
There are only 4 ingredients . . . all purpose flour, yeast, kosher salt and water.
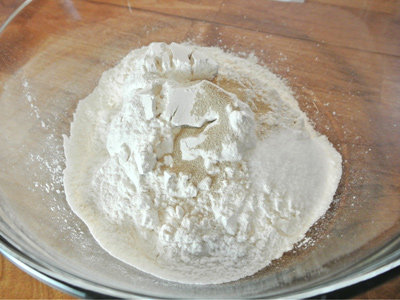
My Mom always said to add the yeast to water and activate it with the salt and/or sugar. But Josh’s method is to add the yeast and salt to the flour.

Whisk the dry ingredients together and pour in the lukewarm water a bit at a time. Incorporate the flour in as you add the water but take care not to over stir it.
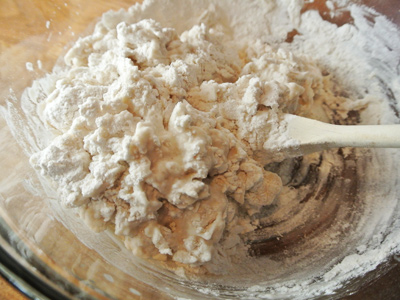
Here I would stir 2 or 3 turns around the bowl then add a bit more water, stir another 2 – 3 times until it begins to bind together.
All the flour is incorporated and I have scraped the sides of the bowl. Leave the dough ball in the bowl.
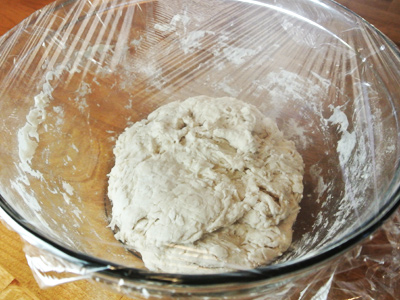
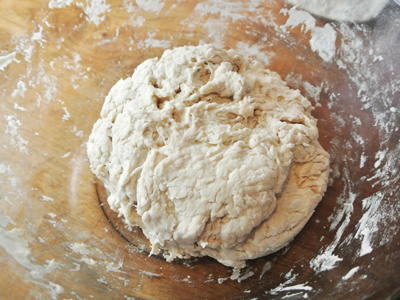
And cover it with plastic wrap. Now let it sit at room temperature overnight or up to 24 hours.

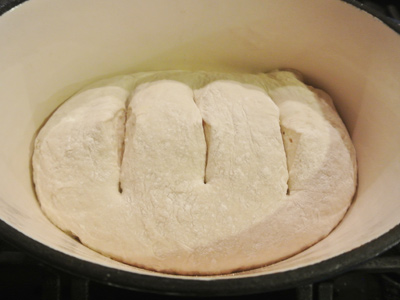
This batch was left out for the entire 24 hours. It raised quite nicely and you can see the air bubbles which are good.
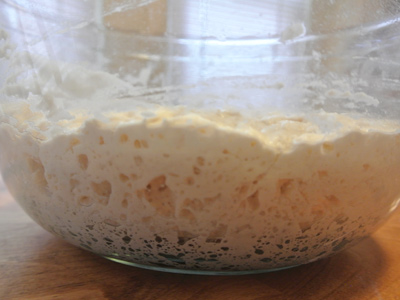
The less you knead the more air bubbles you will have when baking, and that makes the bread have that light and airy texture that is so good in artisan bread.

Lightly sprinkle your work surface with flour and gently knead just to shape it into the shape of your dutch oven.
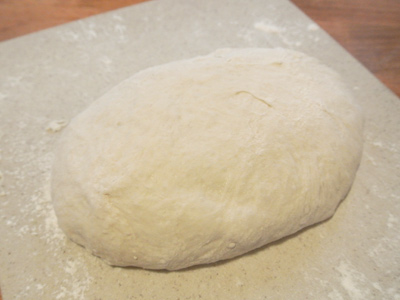
These were made in an oval dutch oven so I shaped it into an oval.
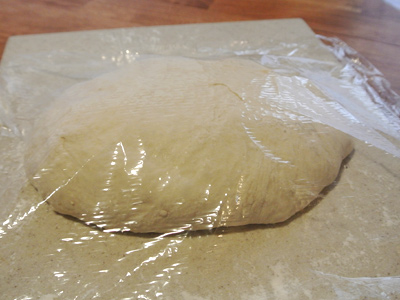
Let it rest under plastic wrap. At this time preheat your oven to 450 degrees and set the dutch oven inside. Once the oven is up to 450 set your timer for 30 minutes and so that your dutch oven will get nice and hot.
When your dutch oven is ready to go, sprinkle some flour in the bottom to keep the dough from sticking. Drop your dough into the hot dutch oven and slit the top of the dough with a sharp knife or with kitchen shears. Lightly sprinkle the top of the dough with some flour and place the lid on top. Place back in the oven for 30 minutes, then remove the lid for an additional 7 – 10 minutes to allow the crust to brown.
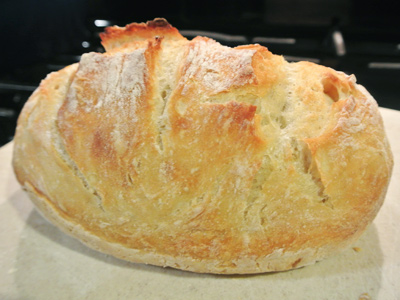
Josh’s dutch oven still has all the ceramic coating and this loaf just drops out of the dutch oven. In my old round dutch oven, the ceramic coating is so worn down that I need to place a piece of parchment paper inside or else the dough sticks. It comes out golden brown and looks just like the loaves you pay the big bucks for at the bakery.
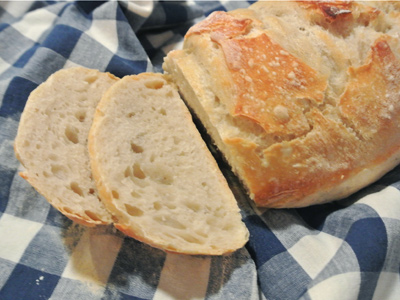
The air holes will tell you that it’s light and soft in the center while the outer crust has that crunch that a good artisan bread displays.
Josh’s Crusty Artisan Bread
3 cups All Purpose Flour
1/2 teaspoon Yeast, I like the instant or rapid rise yeast
2 teaspoons Kosher Flake Salt
1 1/2 cups Lukewarm Water
Combine the flour, yeast and kosher salt together in a large bowl. Make a well in the center of the flour mixture and begin to add the water, stirring to incorporate as the liquid is poured. Scrape the sides of the bowl and form the dough into a ball and leave inside the bowl. Place plastic wrap over the top of the bowl and leave out on the counter or other workspace at room temperature overnight or up to 24 hours. The dough will rise and form air bubbles throughout.
When you are ready to bake the dough, set your oven to preheat at 450 degrees. Set a dutch oven inside the oven and when the oven is at 450 set the timer to 30 minutes to allow the dutch oven to get nice and hot.
Meanwhile sprinkle a work surface with flour. Gently pry the dough away from the bowl and gently knead it into the shape of your dutch oven, either round or oval shape. Place some plastic wrap over top to rest.
Lightly sprinkle flour into the hot dutch oven. Gently place the dough into the dutch oven taking care not to burn yourself. Make slits into the dough with a sharp knife or with kitchen shears. Place the lid on the dutch oven and bake for 30 minutes. Remove the lid and let the top crust brown for 7 – 10 minutes more.
Remove bread from dutch oven and let cool slightly. Serve warm or toasted with butter.
Makes 1 medium loaf


2 thoughts on “Crusty Artisan Bread”
Jess
This bread looks delicious Jan 🙂
LikeLike
NativeNM
Thank you Jess. Yes, it was really good and easy to make.
LikeLike